DIY : Strut Brace Install
BONUS : Mugen DC5 Honda Integra/Acura RSX rear "mid bar" install
Strut bars are extremely common early mods, but to my logic people too often go about the job all wrong. Here's why I believe this - I may be completely wrong, but it makes sense to me.
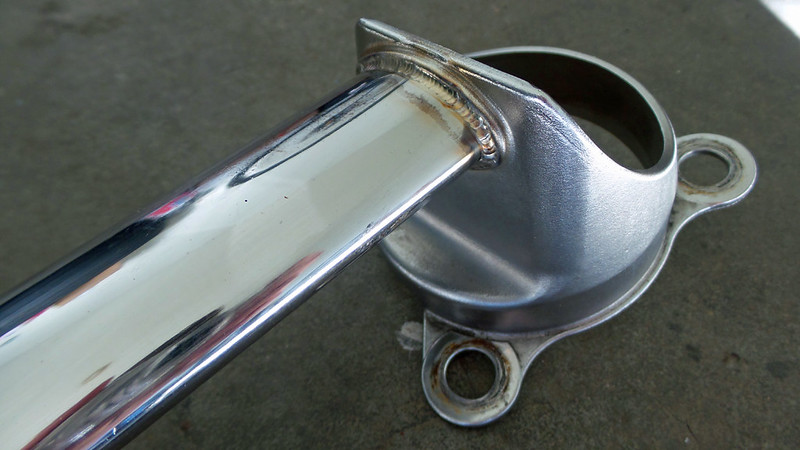
1) The most obvious problem I see is the multi-piece bar. The whole point of a strut bar is to stiffen the chassis - and thereby reduce flex - at the points receiving the most direct stress from the suspension during hard cornering. For each adjustment bolt or hinge in the strut bar, you're allowing that little bit of movement, which makes installing it in the first place completely pointless. The idea is to keep the strut towers in precisely the same spot relative to each other and the rest of body whether the car is moving in a straight line or diving hard into a corner. The geometry of your car's suspension system (namely the camber) changes when cornering, so it's the bar's job to minimize that change. As your car racks up the miles, the metal is more susceptible to fatigue, so this mod helps restore or retain some of that strength as well. Is the cheap bar you're considering even strong enough to not bow under load? Use a well-designed bar with welded or solid ends and avoid all that.
It is worth noting that a strut bar is not a suspension component, and does absolutely nothing towards reducing body roll, despite what you'll hear on the internet. I also get the impression that these multi-piece, "adjustable" bars are made by companies that would rather half-ass the R&D so they can stamp out lengths of bar that kinda-sorta fit several different vehicles while being adjustable to tailor to individual applications at the time of install. That way they just have to worry about making the end brackets fit, and then cash in on customer ignorance.
2) Then there's the fact of people getting strut bars before any other handling upgrades. I'm not saying a strut bar will do absolutely nothing for a stock car, but you're not likely to feel the change. The factory suspension on most cars - between the struts, springs, sway bars, bushings, and massive tire sidewall - is compliant enough that all of those components will absorb much of any cornering pressure before it reaches the body of the car. Don't worry about chassis rigidity until all of those other pieces are beefed up and the chassis itself is actually beginning to become a weaker link. Until then, a strut brace is just bling, but let's face it: people get bars quickly because those multi-piece bars are often extremely cheap.
Perfect opportunity for me to do some showing off here, haha!
3) Was it installed correctly? This is where things get interesting, because I have no clue whether there's a "proper" way of installing chassis braces or if people are just being internet professionals when they say the chassis should be relieved of stress at the time of install. In a way, I can see it making sense because you want the chassis to be as straight as possible before bracing. But on the other side of that coin, if you install a solid bar on a car that's sitting on the ground and has pressure on the strut towers, the bar is going to lock the towers in that position and still keep them from moving in or out. For this topic, I went, where else, to the internet:
First up is a short discussion on the forums at Honda-Tech. Topics touched on are of MacPherson strut vs double wishbone effectiveness, installing with the car on the ground vs in the air, solid vs multi-piece, and two-point vs three-point bars due to firewall rigidity: click here.
This next link, from AutomotiveForums.com, is focused on a post made by member Veetec, who's quoting an apparently reputable forum poster. It gives a nice run-down of what a strut bar is for: click here.
Take all of the above as just another point of view among many others on the internet in contributing to your decision. Whether what I'm saying makes sense is for you to decide. Here's how I went about installing a solid strut bar on my RSX:
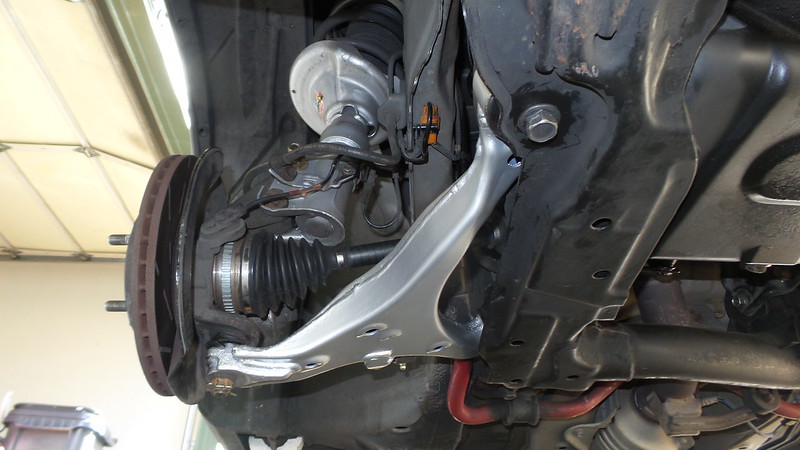
I opted to 'jack up the car first.' Out of curiosity, I measured the distance between the center studs at the top of the front struts while the car was on the ground, and then again when it was jacked up from a point in the middle of the subframe. There was 1/8th of an inch difference. My Mugen coilovers are based on OEM components, so they still utilize a rubber bushing at the top, which would explain the movement, but that was proof enough that there is plenty of inward pressure on the strut towers even when the car is just sitting in Park. Who knows how much closer those studs get to each other in the middle of a hard corner. "Unloading" the chassis as much as possible before bracing it sounds like a good idea, yeah?
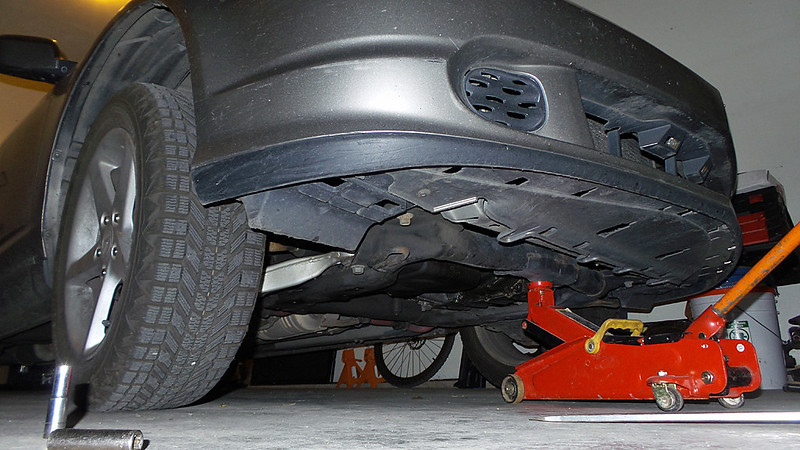
With the car now jacked up (the tires aren't completely off the ground, by the way; just relieve the spring tension enough to where it's off the body but the struts won't fall through when you unbolt them), the rest is cake...
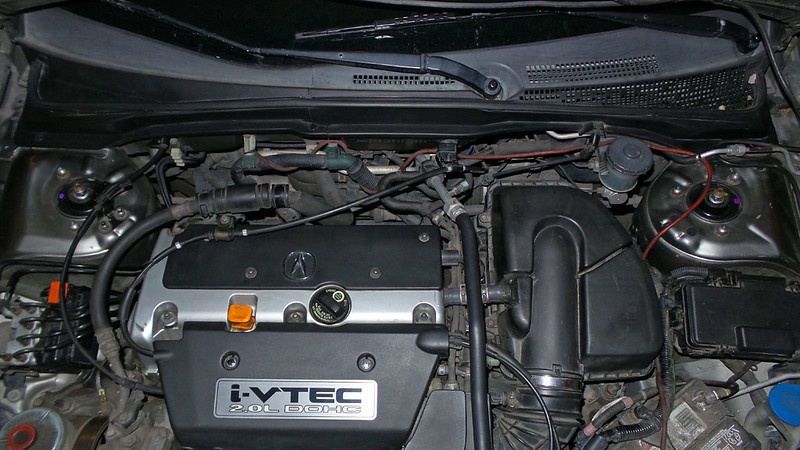
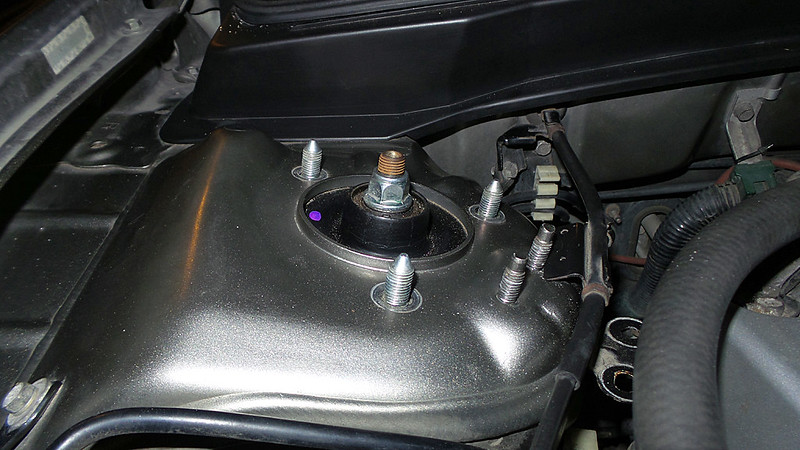
STEP 1 : Undo the Nuts Holding the Coilover Assembly to the Body
On an RSX, there's a throttle cable bracket that's in the way of seating the strut bar ends. Undo the two 12mm nuts holding that in place as well.

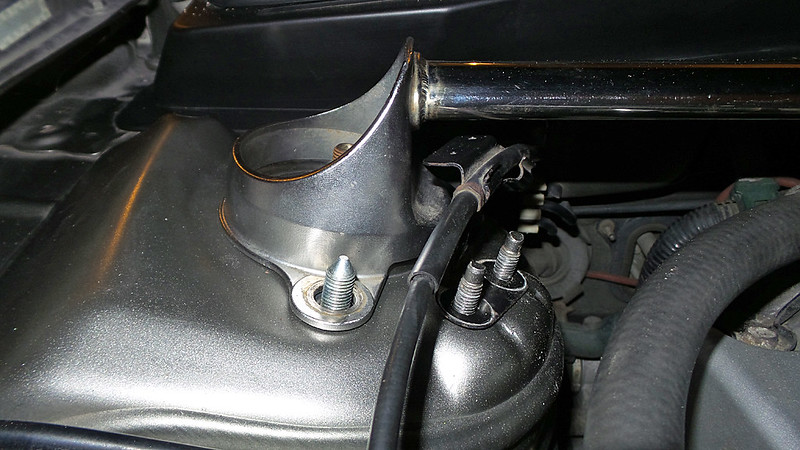
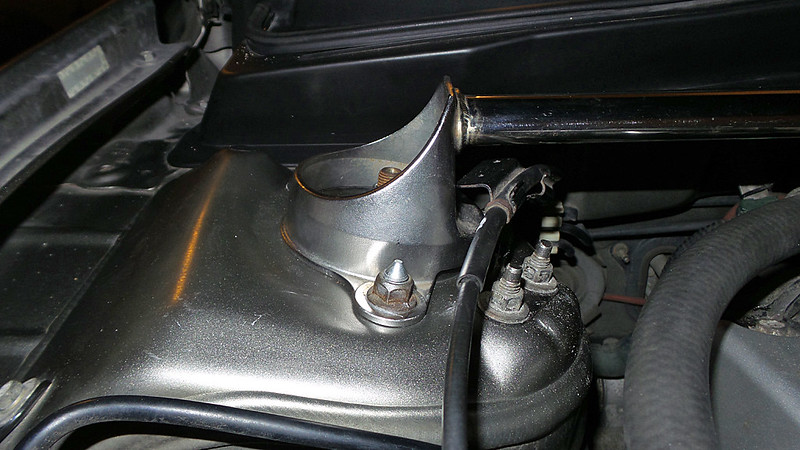
STEP 2: Set the Bar Ends Over the Studs
On the RSX, you'll have to lay the bar end and throttle cable bracket over their studs at the same time to get them both on. I strongly recommend putting some sort of anti-seize on the threads at this point so you're not fighting rust and possibly snapping a stud if you ever have to take those nuts back off.
STEP 3: Torque Strut Tower Nuts
Torque spec for the RSX is 33 lb-ft.
If you do have a multi-piece bar, there will be additional steps in securing the bar to the end brackets. There are a handful of different styles, but when everything is loosely assembled, you're going to want to tighten the ends to the body before tightening everything in the middle.
If you do have a multi-piece bar, there will be additional steps in securing the bar to the end brackets. There are a handful of different styles, but when everything is loosely assembled, you're going to want to tighten the ends to the body before tightening everything in the middle.

BONUS : Mugen DC5 Rear "Mid Bar" Install
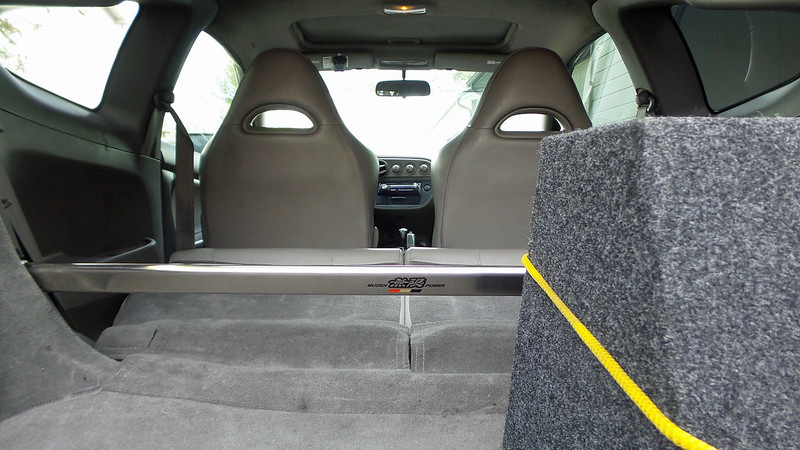
Other cars are bound to have similar chassis braces available, but this one's for all you DC5 Honda Integra and Acura RSX owners out there.
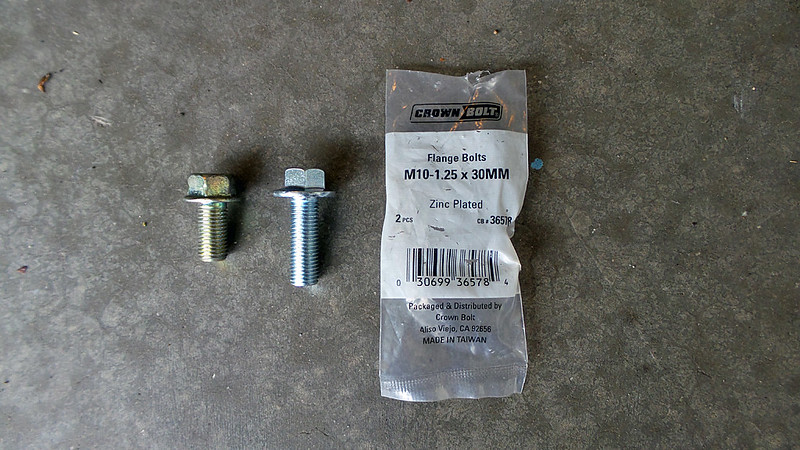
First off, unless you've managed to track down a new-in-box example of this discontinued brace, you're likely going to have to source new hardware. The end brackets are a bit thick where they bolt up, and the car's factory bolts are just a bit too short to get enough threads in at all four corners. For three dollars or so, you can find some 30mm long, M10x1.25 bolts at your hardware store of choice.
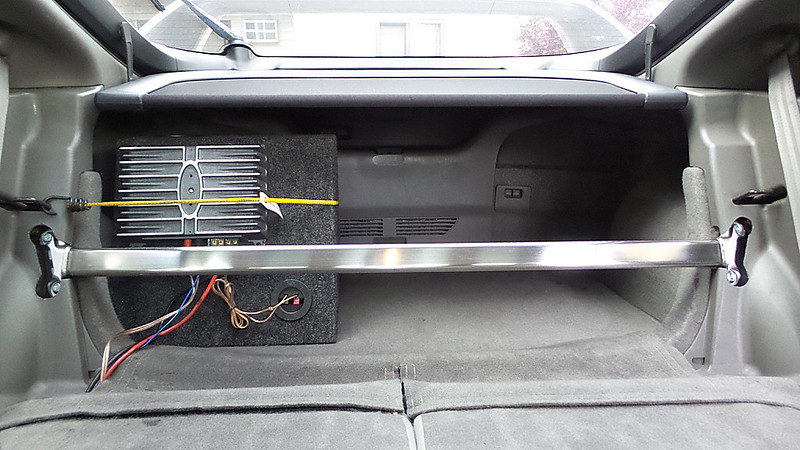
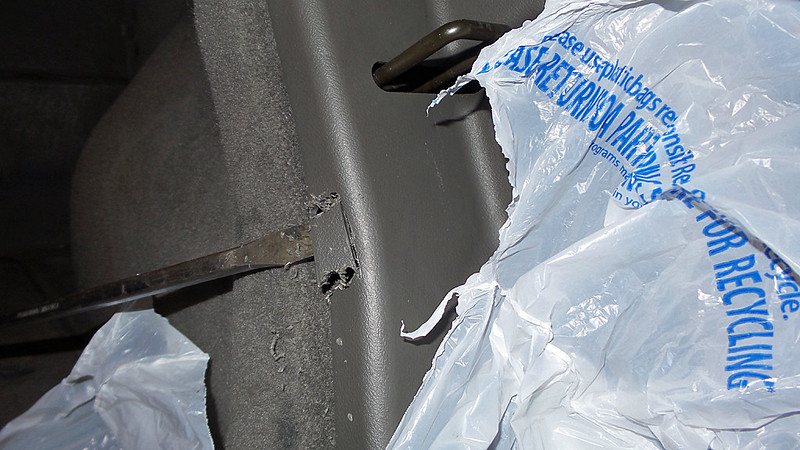
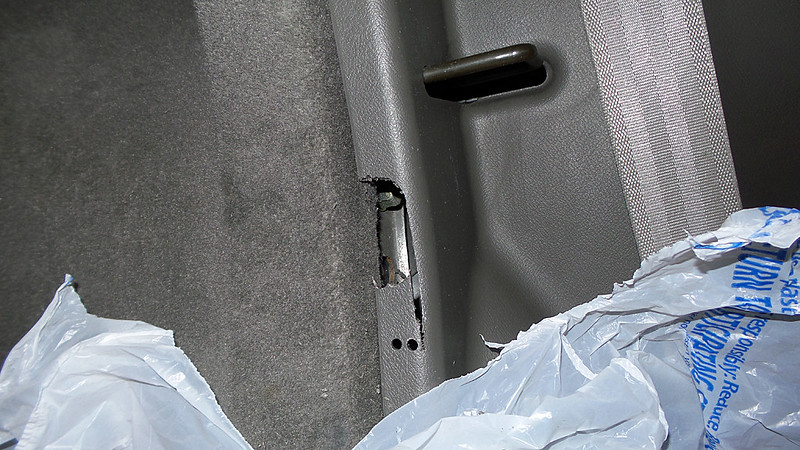
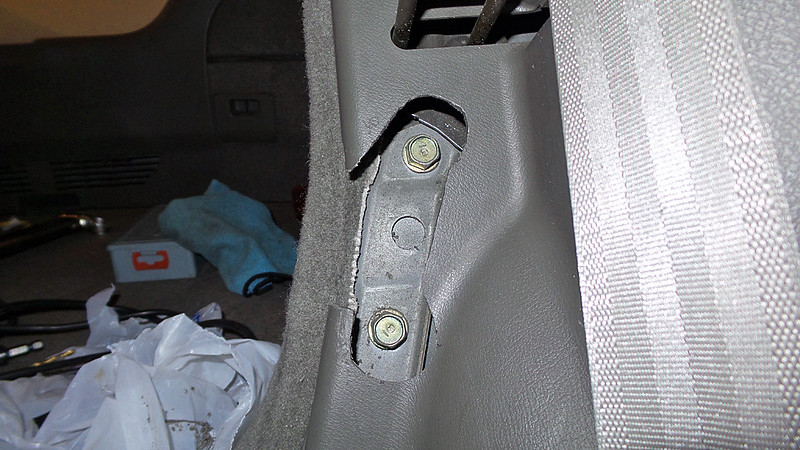
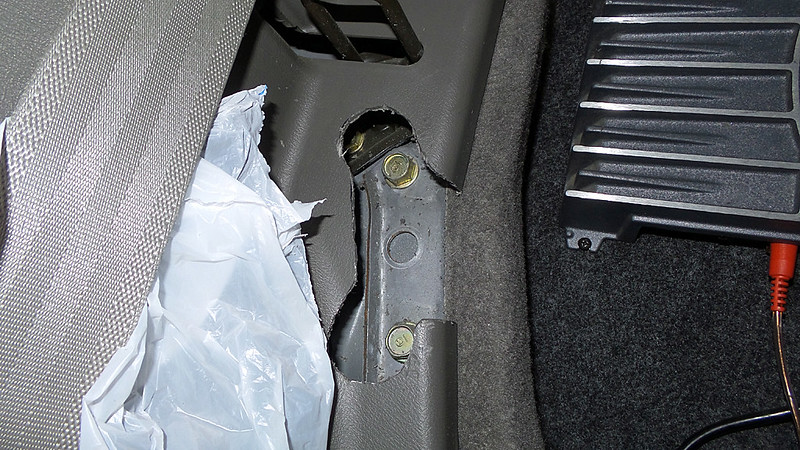
STEP 1 : Hack Up Your Lower C-Pillar Panel
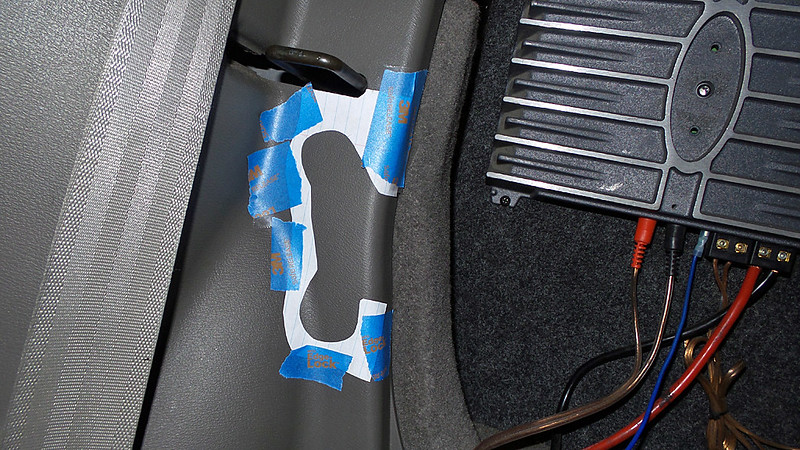
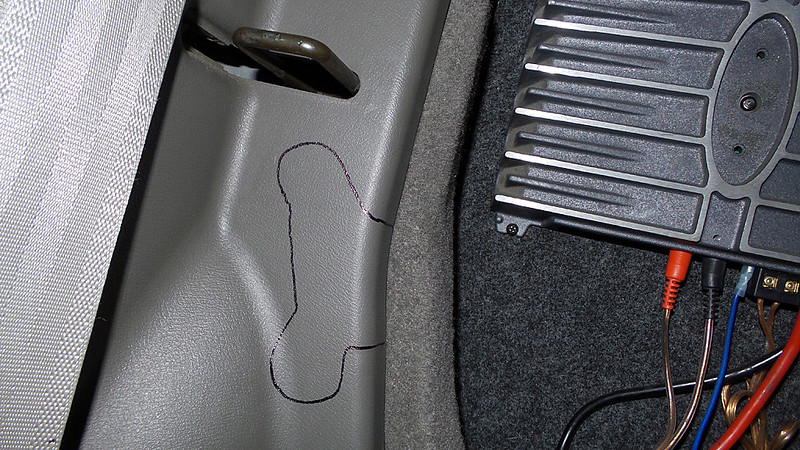
There are a few different ways you could go about this, depending on how clean you're wanting your install to look and the functionality you're wanting to get out of it. For a super clean, more permanent install, you could cut small slots on just the center-facing sides of this plastic: see the third and fourth photos below and imagine something like that; locate and cut a hole that's just large enough to accommodate the bar. In my case, I get a lot of use out of having such a large trunk, so I want to be able to quickly remove the bar if I'm hauling something large that needs the space. I could have just cut a large square hole out of the panel, as per the template that comes with the bar's original instructions (which mine didn't have, being second-hand), but that leaves a bunch of ugly empty space. I tried to trace mine around the bar as closely as possible, but you can see I over shot the hight when I started cutting into the first side of the car. Use my mistake as a tool to gauge where you want to drill first: start with a small hole just so you can get a flashlight in there and find the two bolts, then base your design around their location and your own design. I used a combination of a standard drill bit and a Dremel/rotary tool with cutting discs to make this shape. The screwdriver you see is to back the panel away from the carpet to keep me from accidentally cutting into it.

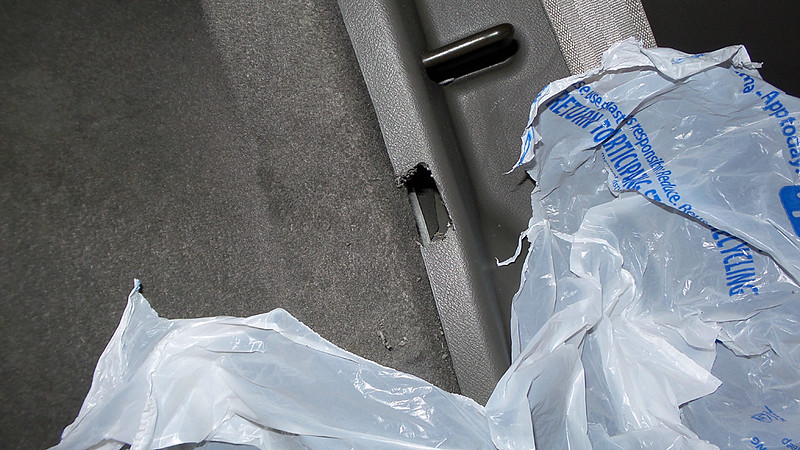
My original plan was to go the 'slot' route and then drill two circular holes on the front side of the panel directly in front of the bolts so I could get a socket in there without having to pull the panel every time. I ended up changing my mind here and went for the 'trace' design. I didn't see it working, because the slots would have had to be extremely tall just to I could angle the bar enough to pull it out. I kind of regret the change; it's ugly. I do plan on changing over to a black interior eventually, so I'll see about changing up my design then. In this next shot, I'm holding the bar with the holes directly lined up with the bolts so I could trace around the bar end to get my shape and get back to cutting. Drilling tiny holes helps in the tight spaces where the cutting disc is difficult, if not impossible to get into without making it look like a hack job. Patience and a steady hand can get that cutting disc to smooth out the curves.
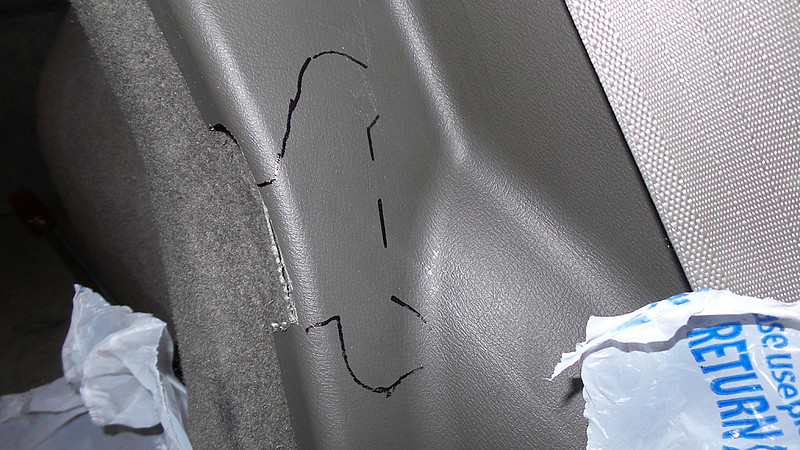
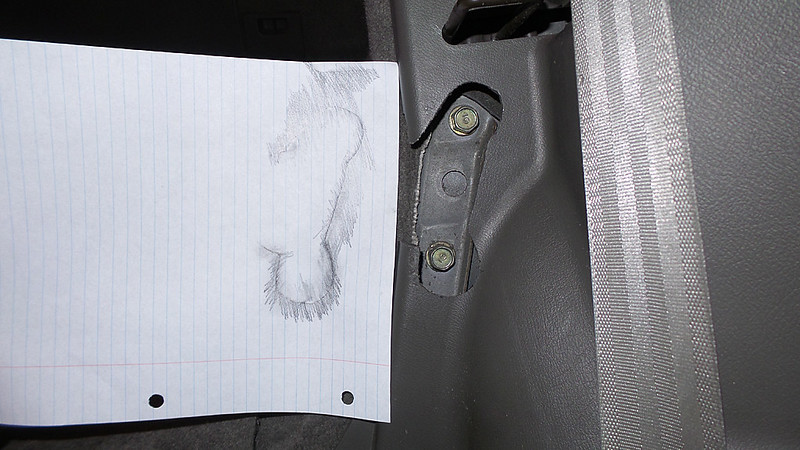
To speed up the job on the other side, and also make it symmetrical if you've got a detailed design like this, grab some paper and a pencil to make up your own template. Be sure to include a reference point in your template, such as the seat latch hole, so you get the placement correct the first time.
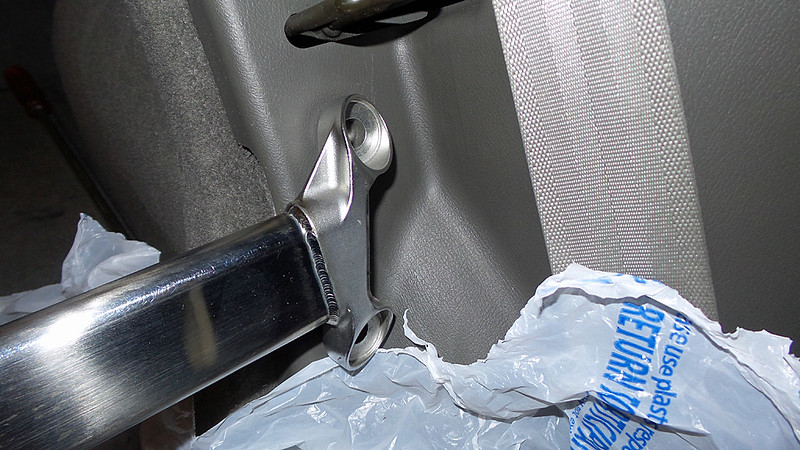
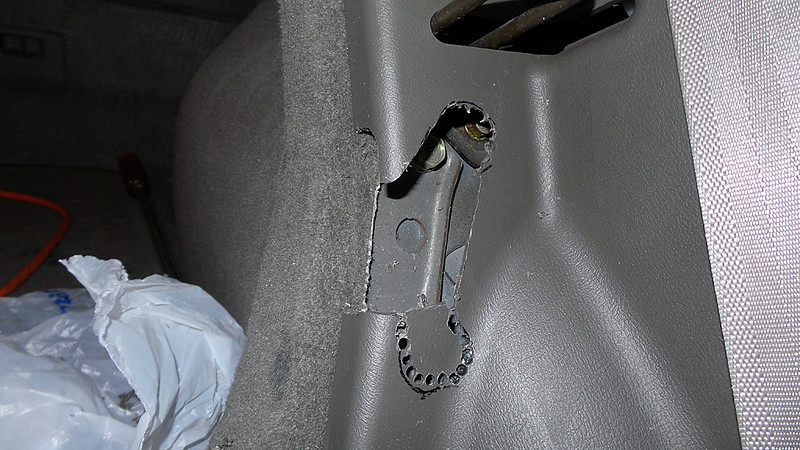
STEP 2: Bolt Up Your Bar
From here, it's just like with the front strut bar. Remove the stock bolts, then use the extended ones to secure the bar to the chassis.